
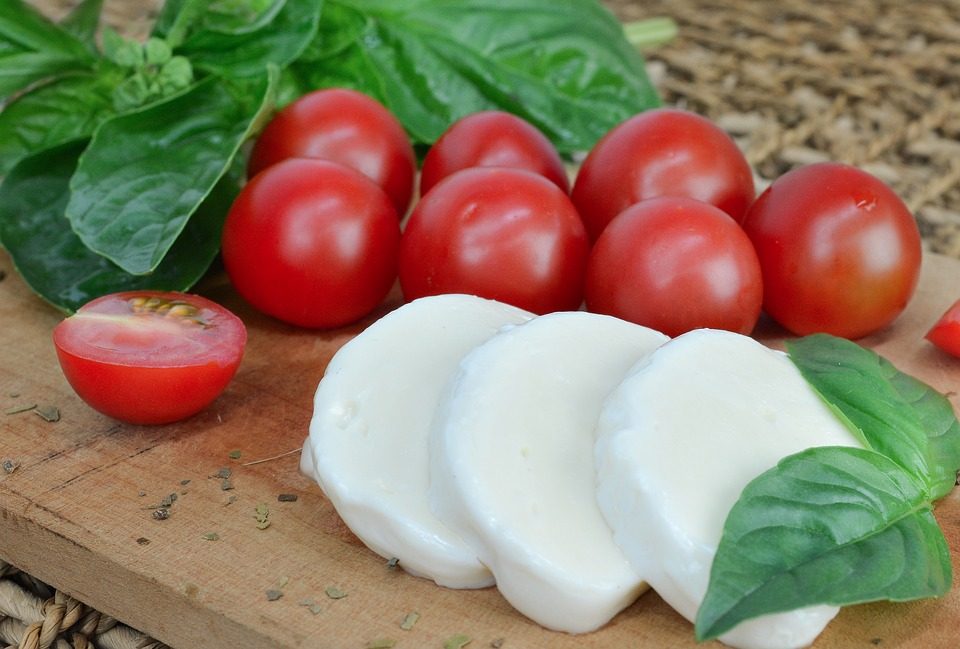
Mozzarella cheese is a favourite for its gentle flavour, smooth texture, and signature stretch—perfect for pizza, pasta dishes, or simply enjoyed fresh. But if you’ve ever wondered how to make mozzarella at home, you’re not alone. Many home cooks find the process intimidating, especially when it comes to choosing the right milk and achieving that classic stretch. This recipe will guide you through each step, so you can enjoy fresh mozzarella from your own kitchen.
Why Try Homemade Mozzarella?
Store-bought mozzarella is convenient, but making your own allows you to control the ingredients and achieve better flavour. Plus, homemade mozzarella cheese can be used in a range of dishes, from bread dough to salads, and it’s a rewarding way to explore traditional methods of cheesemaking.
Choosing the Right Milk for Mozzarella
To get the best results, make sure you use milk that is not ultra pasteurized. Ultra pasteurized milk won’t form curds properly. You can use pasteurized milk, non homogenized milk, or even raw milk if available. Each type will affect the final cheese’s taste and texture. Avoid ultra pasteurized or homogenized milk for a smoother, more traditional mozzarella.
Ingredients and Equipment
Ingredients
- 7.5 L of cow’s or goat’s milk (not ultra pasteurized)
- 1/8 teaspoon thermophilic culture
- ½ teaspoon liquid rennet (mixed with ½ cup non-chlorinated water)
- Salt or cheese salt (to taste)
Equipment
- Large pot (stainless steel is best)
- Thermometer
- Curd knife or a knife to cut a grid pattern
- Slotted spoon or ladle
- Colander
- Large bowl
- Cheesecloth or butter muslin
- Rubber gloves (for stretching curds)
- Heat safe bowl (for hot water during stretching)
If you want to make the process easier and more consistent, consider using a cheese vat with temperature control, check out our product lists.
Step-by-Step Mozzarella Recipe
Before you begin: Make sure all your equipment is clean and sanitised to keep your cheese fresh and safe.
- Pour the milk into your large pot and heat the milk gently to 32°C over medium low heat, stirring to prevent sticking.
- Sprinkle the thermophilic culture over the milk. Let it sit for 2 minutes to rehydrate, then stir gently.
- Cover the pot and let the milk rest at 32°C for 45 minutes.
- Stir the milk, then add the rennet mixture and mix gently.
- Let the milk set for 60 to 90 minutes. The curd should separate from the whey, with a clear layer of whey on top.
- Cut the curd into ½-inch cubes using a curd knife or by making a grid pattern.
- Let the curds rest for 20 minutes.
- Slowly heat the curds to 37°C over 30 minutes, increasing the temperature by about 1°C every 6 minutes. Stir gently as you go.
- Once you reach 37°C, remove the pot from the heat and let the curds set for another 20 minutes.
- While the curds rest, warm a bowl of water to 48°C.
- Line a colander with cheesecloth and drain as much whey as possible from the curds.
- Return the curds to the pot.
- Place the pot in a sink filled with hot water (48°C) and let the curds rest for 2 to 3 hours. This helps the curds firm up for stretching.
- Slice the curd cake into four pieces.
- Set aside three pieces and focus on one at a time.
- Wearing rubber gloves, place one piece in a heat safe bowl and pour hot water over it. The curd will soften and begin to stretch.
- Use your hands or a spoon to stretch the curd, folding it back on itself until it’s smooth and stretchy. If it cools, add more hot water. Add some salt or cheese salt during this step if you like.
- Shape the cheese into a ball and repeat with the other pieces.
- For a more traditional method, you can soak the mozzarella in a saltwater brine for a few hours, then pat dry and store in the fridge.
Serving and Storing Fresh Mozzarella
Fresh mozzarella is best enjoyed within a few days, but you can store it in the fridge for up to a week. Use it in pizza, pasta dishes, salads, or even as a topping for bread. If you’d like, save the leftover whey for soup stock or to make ricotta cheese.
Tips for Success
- Always use the right milk—avoid ultra pasteurized milk for better flavour and texture.
- Add salt during stretching or brining for extra taste.
- Stretch the curds while they’re still hot for the classic mozzarella stretch.
Ready to Make Your Own Mozzarella?
We offer a range of cheese vats, curd knives, and other tools to help you make homemade mozzarella and other cheeses with confidence. Whether you’re just starting out or looking to refine your technique, we’re here to support your cheesemaking journey.
Cheese Kettle offers equipment and supplies to help you create fresh mozzarella and more at home. Explore our selection to find the right tools for your next homemade cheese project