If you’ve ever wanted to make your own cheddar cheese at home, you might feel a bit overwhelmed by the cheesemaking process. Many people worry about getting the texture or flavour just right, or wonder if they need special equipment. The good news is, with a little patience and the right steps, you can create a delicious batch of cheddar cheese in your own kitchen. This article will walk you through a wonderful recipe for homemade cheddar, using plain language and practical tips, so you can enjoy the taste of aged cheese you made yourself.
Why Make Your Own Cheddar Cheese?
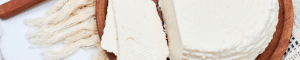
Making cheddar cheese at home lets you control every part of the process, from the milk you pour into your pot to the final aging time. You can use raw milk for a more traditional flavour, or pasteurized milk if you prefer. Either way, you’ll know exactly what’s in your cheese and can adjust the recipe to suit your taste.
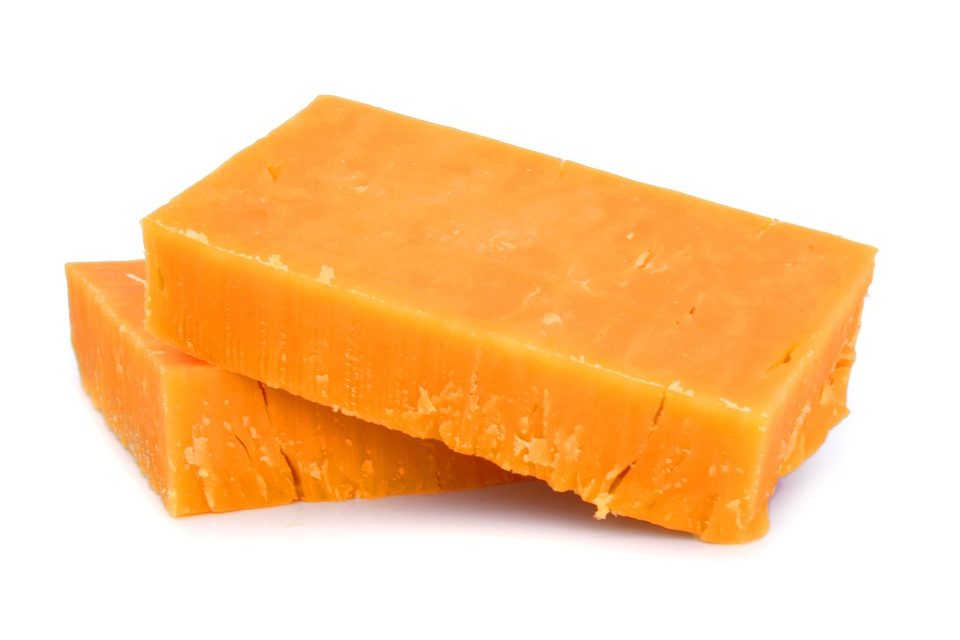
Cheddar is a hard cheese known for its rich, creamy flavour and firm, sliceable texture. Whether you like it sliced on sandwiches, melted in soups, or grated over baking dishes, homemade cheddar stands out from other cheeses. Plus, making cheese at home is a great way to learn more about dairy and try something new in your kitchen.
What You’ll Need for This Cheddar Cheese Recipe
Before you start, gather your ingredients and equipment. Having everything ready makes the process much smoother and helps you avoid mistakes.
Ingredients
- 3 gallons whole milk (raw milk or pasteurized milk)
- ½ teaspoon calcium chloride (if using pasteurized milk)
- Bioprox M265 mesophilic starter culture
- ½ teaspoon diluted rennet (liquid animal rennet mixed with a little water)
- 2½ tablespoons non-iodised salt
Equipment
- Large pot
- Thermometer
- Curd knife
- Wooden spoon or ladle for stirring
- Colander
- Butter muslin or cheese cloth
- Cheese hoop (mould)
- Cheese press
- Cheesecloth or cheese wax for aging
- Brush for waxing
We offer all the equipment you need to make cream cheese at home, including cheese kettles and vats for consistent heating and curd handling tools for easy processing. Making your own cream cheese is a rewarding way to enjoy a rich and creamy texture in your favourite recipes.
Step-by-Step Cheesemaking Process
Making cheddar cheese takes time, but each step is straightforward. Here’s how to turn milk into a tasty, aged cheese you’ll be proud to share.
1. Slowly Heat the Milk
Pour milk into your pot and slowly heat it to 32°C. Stir gently to keep the temperature even. If you’re using pasteurized milk, add calcium chloride now to help the curd set properly.
2. Add the Starter Culture
When the milk reaches 30°C, sprinkle the mesophilic starter culture over the surface. Let it sit for 2 minutes, then stir with a wooden spoon in an up-and-down motion to mix it in.
3. Let the Milk Ripen
Cover the pot and let the milk sit for 1 hour, keeping the temperature steady. This helps the starter culture get to work.
4. Add Diluted Rennet
Add the diluted rennet and stir gently. Remove the pot from the heat and let it sit for 45 minutes, until the milk forms a solid curd and you see whey starting to separate.
5. Cut and Cook the Curd
Cut the solid curd into small pieces (about 1.5 to 2 cm cubes) using a curd knife. Let the curds rest for 5 minutes, then slowly heat the pot back up to 32°C while stirring gently. Increase the heat to 38°C and keep stirring for another 30 minutes. The curds should become firm and springy—this is key for the perfect texture and moisture loss.
6. Drain the Whey
Take the pot off the heat and let the curds settle. Line a colander with cheese cloth or butter muslin, then pour the curds in to drain the whey. Set aside some whey for later steps. Let the curds drain for 15–20 minutes, making sure most of the moisture is removed.
7. Cheddaring Process
Transfer the drained curds onto a cutting board and cut the mass into several slices. Place them back in the colander. Heat the reserved whey to 43°C, then rest the colander over the pot (not touching the whey). Cover with a towel and flip the curd slabs every 15 minutes for 2 hours. This cheddaring process helps develop the unique flavour and texture of cheddar.
8. Break and Salt the Curds
Cut the cheddared slabs into small pieces. Place them in a bowl or pot, sprinkle with salt, and mix gently to distribute the salt evenly.
9. Mould and Press the Cheese
Line your cheese hoop with fresh cheesecloth. Add the salted curds, fold the cloth over the top, and press in a cheese press at 11 kg (25 lbs) for 1 hour. Unwrap, flip, and rewrap the cheese, then press at 18 kg (40 lbs) for 12 hours. Repeat once more at 23 kg (50 lbs) for another 12 hours.
10. Air Dry and Age
Remove the cheese from the mould and cloth wrapping. Air dry on a rack for 2–3 days, turning every 12 hours, until the surface is dry to the touch. Once dry, wax or vacuum seal your cheese. Age at 12–15°C for 3 to 6 months, turning weekly to keep the moisture even. This step develops the natural rind and deepens the flavour.
Tips for the Best Homemade Cheddar
- Use raw milk for a stronger, more complex flavour, or pasteurized milk for a milder taste.
- Make sure to drain the whey well to avoid a chalky or sour cheese.
- The cheddaring process is key for the perfect texture—don’t skip the flipping and resting steps.
- Waxed cheese or vacuum sealed cheese will keep longer and age more evenly.
Health Benefits of Cheddar Cheese
Cheddar cheese is not just tasty—it’s also a good source of protein, calcium, and important vitamins and minerals. As an aged cheese, it’s lower in lactose than some other cheeses, making it easier for some people to digest. The starter culture and aging process may also add beneficial bacteria to your diet.
Wrapping Up: Enjoy Your Own Cheddar Cheese
Making cheddar cheese at home is a rewarding way to learn about dairy and enjoy a delicious, hard cheese you made yourself. Whether you use it sliced on bread, melted in soups, or grated over your favourite baking dishes, homemade cheddar brings a sweet, creamy flavour to any meal. Give this recipe a try and see how satisfying it is to eat cheese from your own kitchen.
What will you make first with your cheddar—toasties, soups, or something new?