Do you want to learn how to make homemade ricotta? Then you’ve come to the right place. Here we’ll give you a step by step procedure on how you can create this very popular dish in your own kitchen. But first, let us give you a few details about this flavourful cheese.
What is Ricotta?
Ricotta is a very popular type of fresh or unripened cheese. It’s an Italian cheese that’s made from cow, goat, Italian water buffalo or sheep milk. Unlike Swiss cheese, ricotta is not aged. It is soft and spreadable and has a creamy, milky flavour.
Ricotta can be used in different ways. You can find this cheese in lasagna and many Italian recipes. It can be used as a stuffing ingredient for Sicilian Cannoli, ravioli and manicotti as well as other types of pasta. It is a great substitute to mascarpone when you’re making cheesecake. You can even blend it with sugar, spices and other flavourings to fill cannoli or use it as a layer cake filling. Ricotta is also a great substitute for mayonnaise. You can spread it on sandwiches and use it in omelettes, quiche and toasts.
Ricotta cheese is easy to make. In fact, people can create ricotta in their home kitchen. You don’t have to use most of the cheese making equipment like a mechanical cheese press to produce homemade ricotta.
Homemade Ricotta: Ingredients and Tools
For this recipe of homemade ricotta, you will only need 4 ingredients:

4 litres of whole milk
- 1 cup heavy cream
- 1 tablespoon of Salt
- ½ cup of freshly squeezed lemon juice or white vinegar.

As said, you won’t need to use dairy equipment to make this cheese. What you need are the following tools:
- A pot
- Thermometer
- Wooden spoon
- Slotted ladle
- Bowl
- Strainer or colander
- Cheese cloth
Homemade Ricotta Cheese Making Process
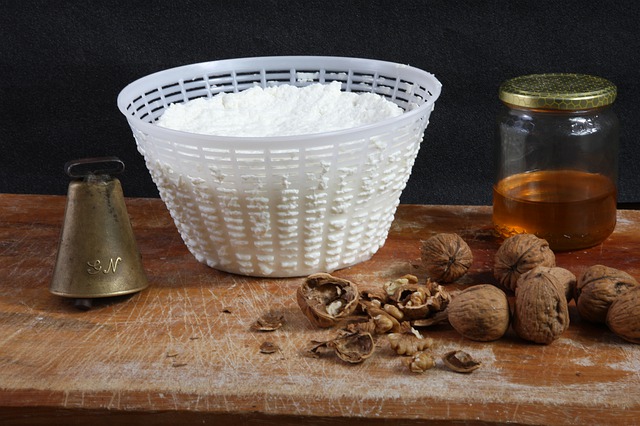
Step 1: Line a large colander or strainer with lightly dampened cheesecloth over a bowl. You can also use a ricotta basket as an alternative. After doing so, set it aside.
Step 2. Put the milk and cream in a saucepan or pot. Put it over medium heat. Give it a gentle or careful stir occasionally using your wooden spoon.
Step 3. Check the temperature. If it is at 185°F or 85°C take the pot out of the stove and remove the thermometer. If you’re not using a thermometer, once you see a light steam and a ton of bubbles forming around the surface of the milk, take pot out of the stove.
Step 4: Add a tablespoon of salt and give it a gentle stir.
Step 5. Slowly add half a cup of freshly squeezed lemon juice or white vinegar into the mixture. At this point, the curds will start to form. Slowly stir the mixture to encourage the curds to form.
Step 6. Use your ladle to transfer the mixture into the colander that’s been lined with cheese cloth. Do this slowly. Don’t try to transfer the mixture all at once, because you don’t want the curds to compress them and dense them down.
Step 7. Once you transferred all the mixture into the colander, fold the cheesecloth over the top part of the cheese. Then refrigerate for until you get the consistency that you like. Usually it takes about 30 minutes to 24 hours.
Step 8. Once you have the right consistency, put it inside a container. Keep it inside the fridge until you want to use it.
There you have it, homemade ricotta using 4 ingredients and a few tools. Now, if you want to know more about how to make cheese or get starting with cheese making business, browse through our website or talk to us. Our team of professionals will be very happy to help you.