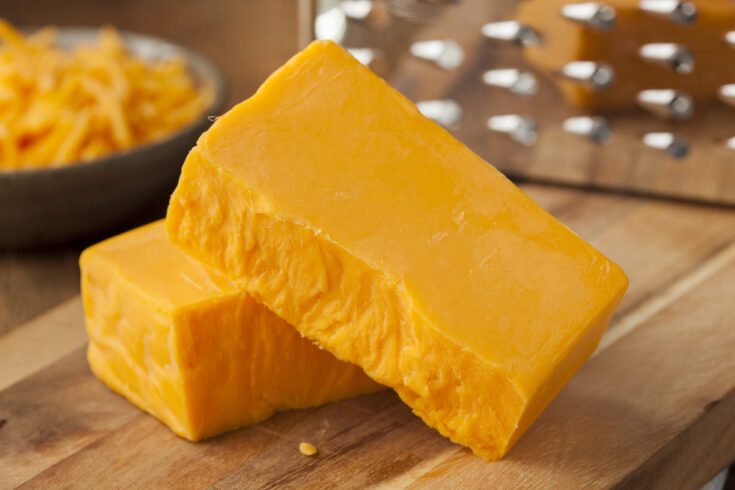
Colby is washed curd cheese known to be a milder form of cheddar. This American cheese’s mild and creamy texture makes it a great cheese to add to casseroles, burgers and sandwiches. Colby is a wonderful cheese to make for intermediate cheese makers. Its process is simple to do, and it has a short aging time, so you don’t have to wait long to enjoy it. Here’s how you can make Colby cheese.
Cook Time: approximately 4 hours
Yield: 900g Colby cheese
Aging: less than 3 months
INGREDIENTS
1. 7.5 L full cream milk
2. 1/4 tsp Bioprox M265 Mesophilic Culture
3. ½ tsp Calcium Chloride diluted in ¼ cup water (nonchlorinated)
4. ½ tsp single strength rennet
5. 12 drops of Annatto mixed with 1/3 cup water (nonchlorinated)
6. 2 tbsp cheese salt
7. cheese wax (optional)
Equipment
1. large stainless steel pot
2. thermometer
3. curd knife and curd cutter
4. ladle or spoon for stirring
5. colander
6. cheese cloth
7. cheese hoop
8. cheese press
Available at the Cheese Kettle Shop
Bioprox M265 is a homofermentative mesophilic starter culture used for making Colby cheese and other cheeses like Traditional Cheddar, Monterey Jack, Farmer’s cheese and Cottage cheese.
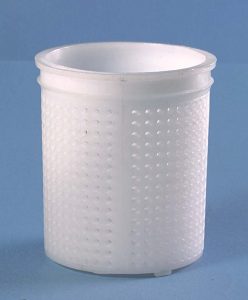
This round cheese hoop with a 115 mm base and 110 mm height is perfect for molding Colby.
Also available in 80 mm diameter base X 95 mm height.
INSTRUCTIONS
Reminder: Sanitize all your equipment before you make cheese.
1. Pour the milk into the pot and heat to 320 C. You can do this in two ways: by putting the pot directly on the stove in low heat or by doing a water bath. Stir the milk while heating.
2. Sprinkle the mesophilic culture on the milk’s surface. Cover the milk and let it sit for 5 minutes to let the culture rehydrate.
3. Stir the milk in an up and down motion for 1 minute.
4. Cover the pot and allow the milk to ripen for 60 minutes. Maintain a temperature of 300 C during this process.
5. After an hour, check if the temperature is still at 300 C. Stir the milk gently and add the calcium chloride solution. Continue to stir the milk in an up and down motion.
6. Add the annatto solution. Stir the milk well so the annatto will completely mix with the milk.
7. Add the rennet and stir well in an up and down motion for 1 minute.
8. After a minute, stir only on the top portion of the milk. Stir like you’re forming a circle on the milk’s surface. Do this in one direction in a very gentle manner. Stir every 30 seconds for 8 minutes.
9. Cover the pot again and allow the milk to set for 30 minutes.
10. Check the curds for a clean break. Plunge a clean finger or a knife into what seems like gelled milk and lift. The curds should be firm enough to break cleanly as the finger or knife is lifted and they whey should fill the gaps produced.
11. Cut the curds into 1 cm size cubes with a curd cutter and a curd knife.
12. Cover the pot and leave the curds to heal for 5 minutes.
13. After 5 minutes, stir the curds gently while increasing the temperature to 390 C. Stir for 40 minutes.
14. After 40 minutes, you’ll notice that the curds shrunk. Let it settle for another 5 minutes.
15. Using a ladle, remove a portion of the whey from the pot, leaving an amount up to the level of the curds. Stir the curds for a few seconds.
16. Wash the curds to slow down acidification. Add 1.5 L of non chlorinated water. The water should be at 160 C. Washing the curds will make the Colby cheese a bit sweeter. During this stage, the temperature should lower to 300 C. If the temperature is still high, you can continue to add non chlorinated water until you reach 270 C to 300 C.
17. Once the target temperature is achieved, stir the curds for 15 minutes.
18. Allow the curds to settle again for 5 minutes.
19. Line the colander with cheese cloth. And pour in the curds. Allow it to drain for 20 minutes.
20. Transfer the curds back to the pot and mill them- break them into thumbnail sized pieces.
21. Add salt to the curds and mix it well.
22. Line the cheese hoop with cheese cloth. Transfer the curds into the cheese hoop.
23. Fold the cheese cloth on top to cover the cheese.
24. Press the cheese at 10 kg of pressure for 30 minutes.
25. Remove the cheese from the hoop, turn it over and press again at 10 kg of pressure for 30 minutes. Always remember that you have to remove the cheese from the cheese cloth and redress it every time you flip it over.
26. Turn the cheese over and press at 18 kg of pressure for 1 hour.
27. Turn the cheese over again and press at 22.5 kg of pressure for 12 hours.
28. Air dry the Colby at room temperature (210 C) for 2 to 4 days. Turn it twice daily.
29. Wax or vacuum seal the cheese and ripen it for 10 to 12 weeks at 120 C.
Colby tends to get bitter the longer it is aged, so it is best aged for a short period. You can eat Colby cold or you can melt it. Aside from using it as a cooking ingredient, this mild cheese also makes an impressive addition to your cheese platter. You can cube it and eat it with fruits like pear and apple. Colby goes best with Pinot Noir and champagne.
Thinking about other cheeses to make? Here are more cheese making recipes.
Check out these other lactic starter cultures from our shop:
Bioprox M272
Mesophilic starter culture for making cheeses like Limburger, blue cheese, Camembert and Brie.
Bioprox TPM
A thermophilic starter culture needed for cheeses like Camember, Brie, and Caciocavallo.
Bioprox TPC
A thermophilic culture added to make cheeses like Gruyere, Emmenthaler, Gruyere and Provolone.