
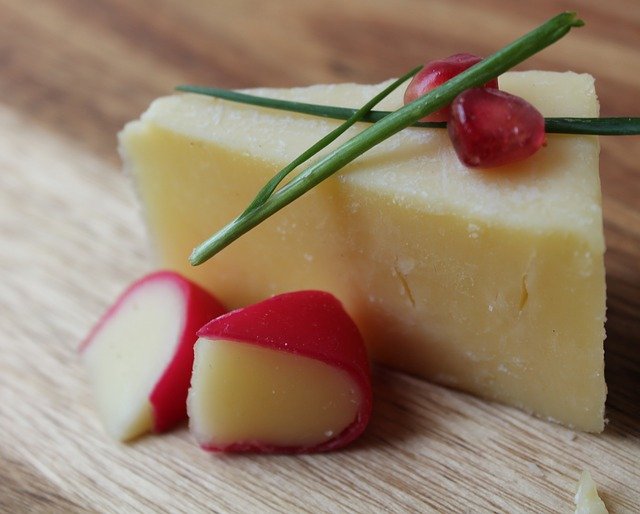
Cheddar cheese is a staple in many Australian households, loved for its rich flavour and versatility. In fact, cheddar accounts for more than half of the Australian cheese market, with each person enjoying around 7.5 kg per year.
Why Make Cheddar Cheese at Home?
Making cheddar cheese at home gives you control over the ingredients and the final flavour. Whether you’re using fresh milk from a family milk cow or pasteurized milk, you can create your own cheddar cheese that suits your taste. Home cheesemaking is a rewarding experience, and with the right cheesemaking equipment, you can follow a cheddar cheese recipe that results in a finished cheese you’ll be proud to share.
Equipment and Ingredients for Homemade Cheddar
Cheese Making Equipment
To make cheddar cheese, you’ll need:
Cheese pot for heating the milk
Thermometer for accurate temperature readings
Cheese press for pressing the curd mass
Curd knife or curd cutter for cutting the curd
Colander for draining whey
Cheese cloth or butter muslin for lining the colander
Cheese wax and wax pot for aging cheese
Cheese mold for shaping your cheese
Cheese Kettle offers a range of cheesemaking equipment, including cheese presses, cheese molds, and cheese vats suitable for making cheddar cheese at home.
Ingredients
57 litres of cow or goat milk (raw milk or pasteurized milk, but avoid UHT/UP milk)
1/8 tsp calcium chloride diluted in 1/4 cup water (add calcium chloride if using pasteurized milk)
1 packet direct-set mesophilic culture or 1/8 tsp bulk mesophilic starter culture
1/2 tsp liquid animal rennet, 1/4 tsp double-strength liquid rennet, or 1/4 tablet vegetable rennet (diluted rennet)
2 Tbsp cheese salt
Step-by-Step Cheddar Cheese Recipe
1. Heat the Milk
Pour milk into your cheese pot and slowly heat the milk to 30°C, stirring gently to prevent scorching. If using pasteurized milk, add calcium chloride.
2. Culture and Coagulate
Once the milk reaches 30°C, add the mesophilic starter culture and stir gently in an up and down motion. Cover and let the cultured milk sit undisturbed for about an hour. Next, add diluted rennet and stir in an up and down motion to ensure even distribution. Let the milk sit undisturbed until you achieve a clean break and a solid curd forms.
3. Cut and Cook the Curd
Using a curd knife, cut the solid curd into 1/4-inch cubes. Allow the curd to rest, then slowly heat the curd mass to 38°C, stirring gently. Maintain this temperature and stir for 30 minutes. Stop stirring and let the curd settle at the bottom.
4. Drain and Cheddar
Transfer the curd mass into a colander lined with cheese cloth or butter muslin to drain the whey. Place the drained curd on a cutting board, cut into slices, and return to the pot. Place the pot in a water bath at 39°C to maintain temperature during the cheddaring process. Turn the curd slices every 15 minutes for 2 hours.
5. Salt and Press
Cut the firm curd into 1/2-inch cubes, add salt, and stir gently to create salted curds. Place the curds into a cheese mold lined with cheese cloth and press using a cheese press. Start with light pressure and gradually increase, pressing for up to 24 hours.
6. Air Dry and Age
Remove the cheese from the mold and air dry on a cheese mat for 2–3 days until the surface is dry. Coat the cheese with cheese wax or create a cloth bound or natural rind, then place in a mini fridge or aging space at 10–15°C for at least 60 days. This aging process develops the flavour and texture of your homemade cheddar cheese.
Final Thoughts
Making cheddar cheese at home is a rewarding process that allows you to enjoy your own cheese, whether you use raw milk or pasteurized milk. By following this cheddar cheese recipe and using the right cheesemaking equipment, you can produce a finished cheese perfect for grilled cheese sandwiches or as part of a cheese platter.
Ready to Start Making Cheese?
We offer solutions for every stage of the cheesemaking process, from starter cultures and cheese salt to cheese presses and cheese molds. If you’re ready to make your own cheddar cheese, we’re here to help you every step of the way. Discover our premium cheese kettles designed for efficient and consistent cheese production-visit our products page to view the full range of equipment.