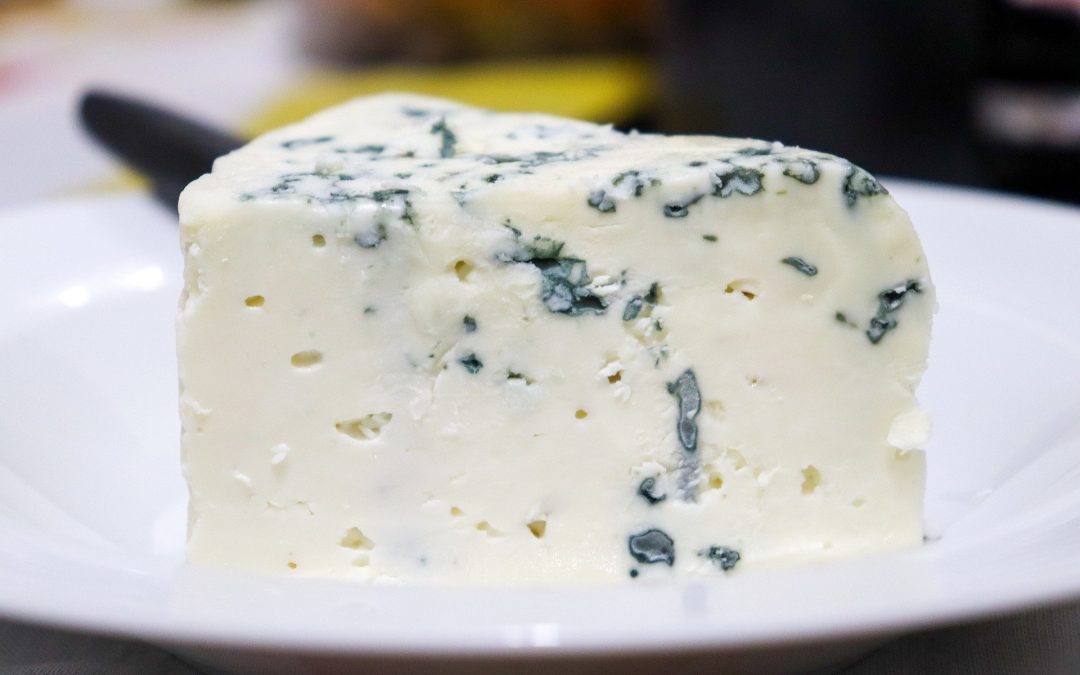
Whether you’re cooking a meal or just whipping up appetizers or desserts, blue cheese can give you that punch of flavor, with its creamy yet mildly sharp and tangy nuance. Blue cheese is a generic term used for cheese made with cultures of mold Penicillium and ripened in moisture controlled environments. The Penicillium cultures are either injected into the curds or in the formed cheese, giving it its distinct blue and green veins and intense piquancy.
How is Blue Cheese Made?
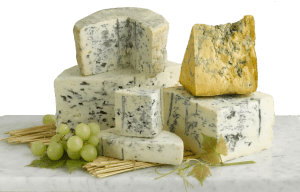 Though there are five types of blue cheese, the cheese-making process is basically similar and follows standard steps. Making blue cheese involves the following processes:
– Pasteurization
– Acidification
– Coagulation with Rennet
– Removing the Whey and Forming the Cheese
– Salting
– Aging
These processes are actually easy to do and with the right ingredients and equipment, you can even do it at home.
1. Pasteurization
You would need a minimum of 2 gallons of milk to produce a yield of 4 to 5 lbs. or more of blue cheese. It may seem a lot, especially if you’re only making it for personal consumption, but you really need that much to increase the ratio of curd mass to surface area allowing good fermentation. You can use cow, sheep or goat’s milk for blue cheese.
Start by heating the milk up to 90oF. Put the milk in a smaller pot and place it in a larger pot with very warm water. This will prevent the milk from scalding. You can also put the pot directly on the heat, but if you do this, make sure you warm the milk slowly and stir well.
Pasteurization is a very important process. Milk contains harmful bacteria that can kill people. Pasteurization kills the harmful bacteria in the milk without denaturing it. This ensures that the milk is safe for processing and consumption. Using a pasteurizer can ensure that the vitamins and proteins in the milk are not destroyed during the heating process.
2. Acidification
Once the milk is at 90oF, add 1 tsp of calcium chloride mixed with 1 tbsp of water, yogurt culture, 1 pack of mesophilic starter, and ¼ tsp of Penicillium. You can substitute the Penicillium with 1 oz. of blue cheese blended together with 1 cup of water for 30 seconds. Acidification starts when the starter culture is added. It converts lactose to lactic acid and changes the milk from solid to liquid. Stir the mixture for 1 minute to mix all the ingredients. Cover the pot and simmer the mixture for 60 minutes. Make sure to maintain the temperature between 88 to 90oF.
3. Coagulation with Rennet
Add 2ml of rennet and let the mixture sit for 90 minutes. Rennet contains enzymes that coagulate the milk. Cut the curd into large cubes and stir intermittently for 20 minutes.
4. Removing the Whey and Forming the Cheese
Drain the curds by lining your colander with cheesecloth or butter muslin. Do this thoroughly while the curds are still warm. You can also use a cheese curd drainer strip to ensure proper draining of the curds. Mold Penicillium requires an aerobic environment, so the better the curds are drained, the better the aging process. Sprinkle 2 tbsp. of kosher or cheese salt to the curds and gently mix the curds with your hands. Let it sit for 10 minutes.
Transfer the curds to the cheese mold. Let them settle organically and refrain from pressing them. Cover both ends of the mold with a cheese mat and let the curds drain again for another 4 hours. The cheese to be turned every 15 minutes for the the first hour and every 30 minutes for the next 3 hours.
Leave the cheese for 8 hours at room temperature. Turn it once more and transfer it to a cooler place. Leave it there for another 8 hours or more.
5. Salting
Remove the cheese from the mold and sprinkle salt over it. Store the cheese on a dark area with a temperature of 100 C. Flip the cheese over and sprinkle salt on it every 3 days for a week. Continue to flip the cheese every 3-4 days over the next week. At this stage, there’s no need to salt the cheese anymore.
6. Aging
After a week, there may already be initial protein changes in your cheese. Poke holes in the cheese using a sterilized skewer. The holes should be 1 inch apart from each other. The holes will allow the Penicillium to move around the cheese. Ripen the cheese for 60-90 days in a cool and dark environment, flipping it over every 3-4 days.
Scrape off the mold from its surface and wrap the cheese with unperforated cheese wrap for blue cheese. Then, store your blue cheese at 80C. The longer you age the cheese, the stronger its flavor gets.
Making blue cheese takes patience but the final product is worth the effort. You can enjoy it with wine and nuts, use it as a flavor enhancer for your dishes, especially for soup and pasta, or add it to your salad. Homemade blue cheese can be a great business idea. It can also be a fun gift idea or giveaway for family and friends.
What are the Kinds of Blue Cheese?
There are five types of blue cheese. Each has its distinct flavor, appearance and use.
 Gorgonzola
Gorgonzola is made from unskimmed cow’s milk. This veined Italian cheese can taste buttery, crumbly and quite salty. This blue cheese can be wonderfully paired with pistachios, grapes and honey; but can also be used to add zest to pizza and pasta.
 Roquefort
Roquefort is known for its sharp tang and pungent smell. This vibrant sheep milk cheese from southern France is best paired with walnuts, apples and red wine.
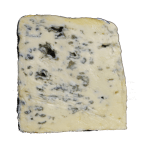 Double Cream Blue
Double cream blue cheese is made from cow’s milk enriched with cream. It has a velvety smooth texture that makes it best eaten with grapes, honey and red wine.
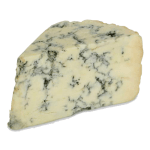 Stilton
Stilton is known for its beautifully streaked interior and its crumbly yet almost soft texture. This English cheese made from pasteurized cow’s milk has a rich creamy, nutty and salty flavor. It is best eaten with walnuts, sliced apples and honey.
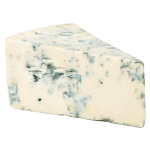 Danish Blue
Danish blue or danablu has a creamy and crumbly texture. It has a soft flavor that intensifies as it lingers. This blue cheese can be paired with seared beef or steak or eaten with citrus, pears and walnuts.
How to Properly Store Blue Cheese
Proper storage can ensure your blue cheese keeps all its wonderful flavor and reaches its maximum shelf life. To prevent early spoiling, blue cheese should be wrapped in cheese wrapping paper and stored in your refrigerator’s salad drawer. Don’t freeze your blue cheese. Freezing can make it crumbly and will slightly diminish its flavor.

